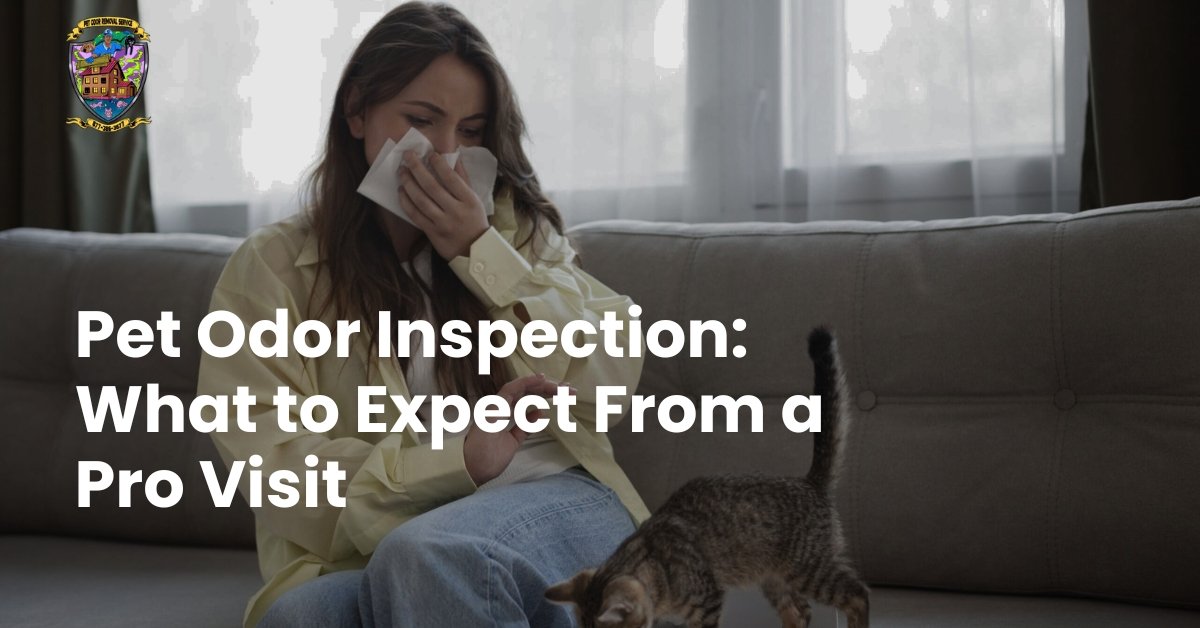
If your home still smells like pets even after cleaning, you are not imagining it. Odors often linger because the source is hidden under carpet, inside padding, along baseboards, in drywall, or down in the subfloor. A professional pet odor inspection service is designed to find where the odor is coming from, map how far it spread, and identify what materials are holding it so you can fix it the right way the first time.
This guide walks you through what typically happens during a professional visit, what tools are used, what you will receive afterward, and how to prepare so the inspection is fast and accurate.
Why a professional pet odor inspection matters
Pet odor problems are rarely just a surface issue. Urine can wick outward, soak downward, and keep off gassing for months or years. The most common reasons DIY efforts fail are:
- The true source was not found
- The wrong product was used for the material
- Odor was sealed in without proper cleaning or drying
- Multiple odor zones existed, but only one was treated
Odor detection services near me are especially helpful when the smell is intermittent, stronger after humidity changes, or seems to move from room to room.
What a professional odor detection visit includes
A thorough inspection is part investigation and part measurement. You should expect a structured process that looks for both visible and hidden contamination.
Step 1: A quick intake conversation
Most professionals start by learning the story behind the odor. This helps narrow down the likely sources and choose the right tools.
You will be asked about:
- The type of pet and how long the issue has been going on
- Rooms where accidents happened or where odor is strongest
- Any cleaning products already used
- Recent changes like new carpet, fresh paint, or remodeling
- Whether the odor is worse at certain times of day
Tip: Be honest about past accidents, even if they were years ago. Old urine spots often reappear when humidity rises or HVAC cycles change.
Step 2: A room by room odor walk through
Next comes a systematic walk through, usually starting in the worst area. The goal is to identify odor zones, not just a single spot.
A technician may:
- Check corners, doorway transitions, and along baseboards
- Smell test at different heights, since odor can pool low or rise
- Note airflow patterns from vents and returns
- Look for staining, discoloration, or warped flooring
This is also when they determine whether the odor seems like urine, dander, feces, skunk, litter box, or a combination.
Step 3: UV inspection and visual mapping
A UV light can reveal residues and patterns that are hard to see under normal lighting. It is not a stand alone answer, but it is useful for mapping.
During UV inspection, they may:
- Dim the lights to improve visibility
- Mark suspect areas for follow up testing
- Check upholstery, rugs, carpet edges, and closet floors
Some spots fluoresce clearly. Others do not. That is why professionals combine UV with moisture and material testing.
Step 4: Moisture checks and material assessment
Urine odor often persists when moisture is trapped in padding, subfloor seams, or porous materials. Moisture meters help identify where contamination is still active or where prior cleaning left dampness behind.
A technician may check:
- Carpet and pad saturation areas
- Subfloor moisture near seams and around doors
- Drywall base areas if urine contacted walls
- Bathroom and laundry areas to rule out non pet odor sources
This step helps determine if the issue can be treated at the surface level or if removal and repair is likely.
Step 5: Pinpoint testing for hidden contamination
If the odor suggests deeper absorption, the visit may include targeted verification. This can involve checking under carpet edges, testing padding condition, or identifying whether the odor has reached the subfloor.
The goal is to answer key questions:
- Is the contamination limited to the top layer
- Is the padding compromised
- Is the subfloor holding odor
- Is drywall acting like a sponge near the base
When the odor has migrated into porous building materials, treatment needs to be more specific and often more involved.
Step 6: Findings, options, and a clear plan
A good inspection ends with clarity. You should walk away knowing where the odor lives and what the realistic options are.
Typically, you will get:
- A summary of odor zones and likely sources
- Recommended treatment approach by material type
- Whether sealing is needed and where
- Whether removal is needed for carpet or padding
- How long treatment may take and what results to expect
For a direct overview of the service, see Odor Inspection and Detection.
Common tools used during pet odor inspections
Professionals rely on tools because pet odor can hide in places your nose cannot pinpoint.
UV light
Useful for locating residues and mapping patterns, especially on carpet and some hard surfaces.
Moisture meter
Helps identify damp zones and areas where urine or cleaning moisture is trapped.
Visual inspection tools
Includes mirror checks, edge lifting where appropriate, and close inspection of floor transitions.
Experience based odor identification
A trained technician can often distinguish urine from other odor sources like mold, sewer gas, smoke, or cooking oils, which matters because treatment methods differ.
What you should do before the inspection
Preparation makes the visit faster and improves accuracy. The biggest mistake is masking the odor right before the appointment.
Preparation checklist
- Do not use heavy fragrances, candles, incense, or air fresheners for 24 hours
- Avoid shampooing carpet or using enzyme cleaners the day before
- Pick up clutter along walls and in corners where pets tend to mark
- Vacuum normally if needed, but avoid wet cleaning
- Keep pets secured so the technician can access all rooms
- Make a note of past accident areas, even if they seem resolved
If you live in the area and need local help, you can also review pet odor removal in Los Angeles to understand common odor sources in apartments, older homes, and multi level properties.
What happens after the inspection
Most homeowners want to know one thing: will I need to replace materials, or can this be treated?
The answer depends on where the odor is trapped.
When treatment is often enough
Treatment may be effective when:
- The odor is mainly in surface fibers
- The padding is not heavily contaminated
- The subfloor is dry and not holding odor
- There are limited spots rather than widespread saturation
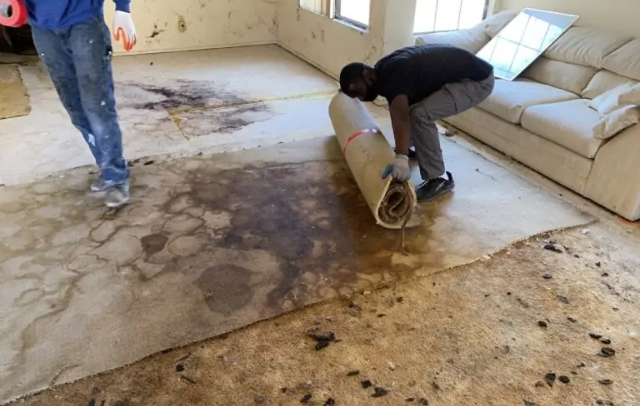
When removal or sealing becomes likely
Removal or sealing is more common when:
- Urine soaked through carpet into padding
- The subfloor absorbed contamination
- Baseboards or drywall pulled in odor near the floor line
- Multiple layers were affected over time
In these cases, the inspection helps prevent wasted money on repeated cleaning attempts that never reach the real source.
Step by step: What a professional plan often looks like
Every home is different, but many successful odor projects follow a sequence like this:
- Confirm odor zones with inspection and mapping
- Treat surface materials when appropriate using professional grade products selected for the material
- Address padding and subfloor areas with targeted cleaning, odor neutralization, or sealing as needed
- Replace compromised materials only where necessary
- Re check the area after drying and ventilation to confirm odor reduction
- Provide prevention tips for future accidents and maintenance
If you are ready to get clear answers, you can book an inspection and stop guessing.
FAQ
Q: How long does a pet odor inspection usually take?
A: Many visits take about 30 to 90 minutes depending on home size and how many odor zones need evaluation.
Q: Will a UV light always find every urine spot?
A: No. UV is helpful for mapping, but some residues do not fluoresce clearly, and some cleaners can cause false positives. That is why professionals combine UV with other checks.
Q: Should I clean right before the technician arrives?
A: Light tidying is fine, but avoid wet cleaning or strong scented products for at least 24 hours so the odor sources are easier to detect.
Q: Can pet odor be coming from the walls?
A: Yes. If urine contacted baseboards or drywall, porous materials can absorb odor and release it later, especially with humidity changes.
Q: What if the odor is stronger only when it is hot or humid?
A: That often points to contamination in porous materials like padding or subfloor because moisture and heat can increase odor release.